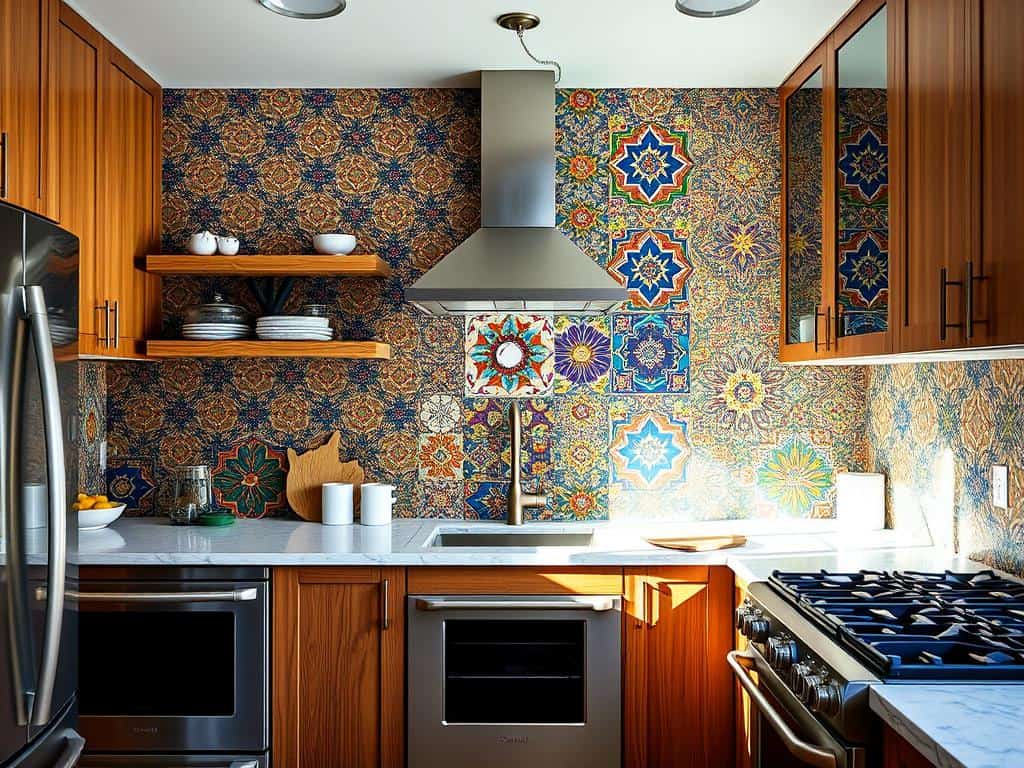
When I moved into my home, the kitchen was functional but lacked style. I wanted to make it my own. Inspired by a friend, I decided to do a DIY tiling backsplash with easy tiles.
This project was more than just making the kitchen look good. It was about showing off my personality and taste. I researched, measured, and calculated costs, finding it rewarding and affordable.
Starting with a simple idea, I blended practicality with creativity. With time, effort, and a plan, I was ready to start my DIY tiling backsplash project.
Key Takeaways
- DIY tiling backsplashes can be a cost-effective way to enhance kitchen décor.
- Proper planning and measuring are key for a successful installation.
- Using easy tiles and adhesive materials makes the process simpler.
- Investing time in a DIY project can greatly increase a home’s value and appeal.
- Regular upkeep keeps your backsplash looking beautiful for years.
Transforming Your Kitchen with a Stylish Backsplash
A stylish backsplash is key in kitchen décor. It’s both functional and beautiful. It keeps walls safe from spills and makes the kitchen look new.
A good backsplash can make your kitchen look better. It adds texture and color, making the space feel welcoming.
Why a Backsplash Enhances Kitchen Décor
The right backsplash changes your kitchen’s feel. There are many choices, so pick what you like and fits your kitchen. Subway tiles are classic and versatile.
Ceramic tiles are budget-friendly but colorful. Glass tiles bring a modern touch and are easy to care for.
Current Trends in Backsplash Designs
In 2024, kitchens will be more personal. Textured tiles and bold patterns are in. Herringbone and chevron add elegance, while mosaic tiles offer artistic touches.
Non-tile options like glass panels or reclaimed wood add unique charm. The edge trim is also important. Choosing the right finish can tie everything together.
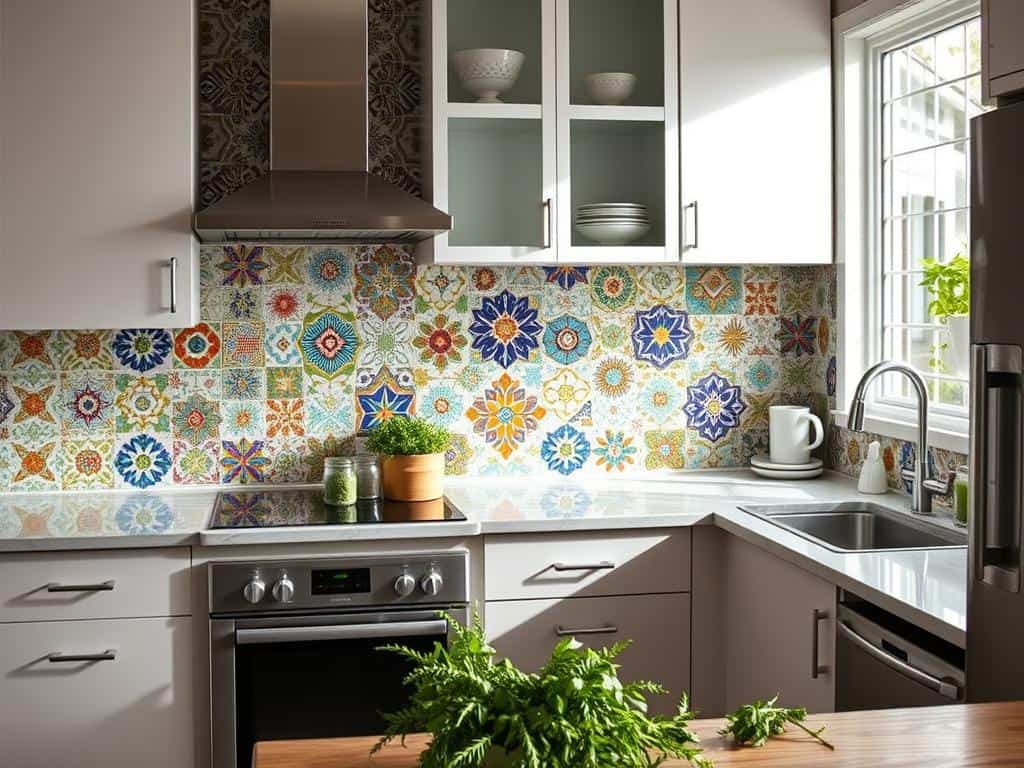
DIY Tiling Backsplash: A Step-by-Step Guide
Starting a DIY tiling backsplash project is fun and rewarding. I’ve outlined the key steps to help you succeed. You’ll learn how to get a professional look with the right materials and techniques.
Materials You’ll Need for Your Project
Choosing the right materials for tiling is key. Start with ceramic tiles and tile adhesive. Use thin-set mortar to bond tiles to the wall securely. Grout is essential for filling gaps between tiles.
Don’t forget tile spacers, preferably ⅛-inch ones, for even spacing.
Preparing Your Space for Installation
Getting your space ready is the first step. Make sure your walls are clean and level. You can tile over drywall without backer board in most cases.
Leave a 1/8-inch gap around where the backsplash meets cabinets and countertops. This lets tiles expand and contract without cracking. Peel-and-stick tile mats make installation simpler, bonding instantly to the wall.
Applying Tiles: Tips for Beginners
Start with the bottom row of tiles. Use a level to keep it straight. Apply thin-set mortar in small sections, as it dries fast.
Place tiles carefully, using spacers for even spacing. A wet saw with a diamond blade is best for cutting tiles, giving cleaner edges.
Grouting and Finishing Touches
Grouting starts after tiles are in place. Apply grout diagonally with a rubber float. This helps it fill spaces well.
Wipe away excess grout with a sponge in a diagonal motion for a clean look. Mix grout with water until it’s like cake batter. Choose the right grout type for your space.
Work in small sections to avoid drying grout. This ensures a flawless finish.
Conclusion
Doing a DIY tiling backsplash project is very rewarding. It makes your kitchen look brighter and adds a personal touch. For example, using white subway tiles is affordable and looks great.
While working on my project, I learned the importance of planning. I bought 40 square feet of tile for 38.5 square feet of wall. This way, I had enough for waste, cuts, and mistakes. It kept me moving without worrying about running out of tiles.
In the end, a DIY tiling backsplash project is worth it. It makes your home look better and feels fulfilling. Seeing my kitchen change in just a weekend was amazing. If you want to improve your kitchen, try a DIY tiling project. It’s a great way to show off your style.