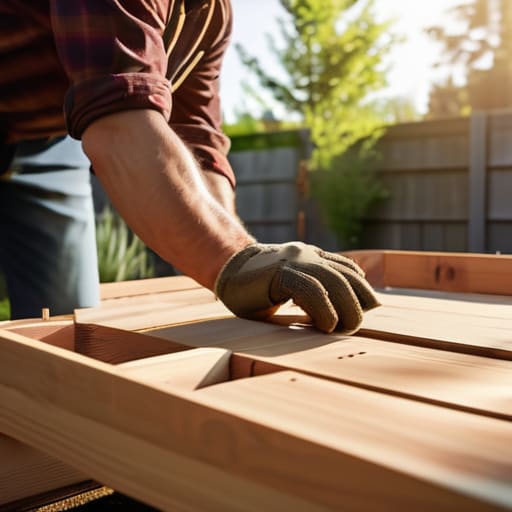
I remember standing in my parents’ old gallery, surrounded by the scent of aged wood and oil paints, realizing that the most beautiful things aren’t just found—they are cultivated. Most people think that learning how to build a raised garden bed requires a massive backyard and a degree in landscape architecture, but that is a complete myth. In reality, a garden bed is simply a floating island of life, a structured sanctuary where you can play with texture and height without being tethered to the stubborn, unyielding soil of the earth. Whether you have a sprawling sun-drenched patio or just a tiny corner of a balcony, you can create a living masterpiece that feels like an extension of your soul.
In this guide, I’m stripping away the intimidating jargon to show you the soulful, practical way to approach this project. I’ll walk you through everything from selecting the perfect, weather-resistant timber to layering your soil for maximum botanical magic. No fluff, no expensive mistakes—just the honest, hands-on steps you need to master how to build a raised garden bed that looks less like a construction project and more like a curated piece of garden art. Let’s get our hands a little dirty and start building something extraordinary together.
Guide Overview
Tools & Supplies
- Drill/Driver for assembling boards
- Measuring tape for precise cuts
- Level to ensure even ground
- Hand saw or miter saw for sizing lumber
- Untreated cedar or redwood boards (approx. 3-4 pieces)
- Galvanized wood screws (1 box)
- Garden soil/compost mix (enough to fill volume)
- Hardware cloth or weed barrier (optional)
Step-by-Step Instructions
- 1. First, let’s gather our materials, treating this less like a construction project and more like gathering ingredients for a masterpiece. You’ll need untreated cedar or redwood—these woods are naturally resistant to decay and won’t leach anything unkind into your soil—along with some heavy-duty galvanized screws. I always like to pick out a few extra pieces of reclaimed wood if I can; I recently found some gorgeous, weathered oak that I’ve named ‘Barnaby,’ and he’s going to form the corner posts for my newest project.
- 2. Once you have your lumber, it’s time to map out the geometry of your sanctuary. Measure and cut your side planks and end pieces according to the scale of your space. I find that a height of about 12 to 18 inches is the sweet spot—it’s deep enough to allow roots to dance freely, yet low enough to maintain that grounded, earthy aesthetic we love. Use a carpenter’s square to ensure every corner is crisp and true, because even in a bohemian space, precision creates the foundation for beauty.
- 3. Now, we begin the assembly, which is where your vision truly starts to take shape. Align your corner posts—the backbone of your bed—with the edges of your planks. I like to pre-drill my holes to prevent the wood from splitting, a little act of kindness for the material that ensures longevity and grace. Drive your screws in firmly, working your way around the perimeter until you have a sturdy, rectangular frame that feels like a solid embrace for your future plants.
- 4. Before we introduce the earth, we must protect the soul of the garden. Lay down a layer of hardware cloth (a sturdy wire mesh) at the bottom of the frame to keep those uninvited subterranean guests, like gophers or moles, from disrupting your peace. On top of that, I love to line the inner sides with a bit of landscape fabric. This creates a breathable barrier that keeps your precious soil from leaching out while allowing the earth to stay hydrated and happy.
- 5. Position your newly minted frame in a spot that catches the golden hour light—most veggies and blooms crave at least six to eight hours of sun. Once it’s settled, it’s time for the magic: the soil mix. Don’t just settle for standard dirt; create a nutrient-rich tapestry by blending organic compost, coconut coir, and perlite. This ensures your garden bed isn’t just a container, but a living, breathing ecosystem that pulses with vitality.
- 6. Finally, give your creation its finishing touches to truly marry the structure with the surrounding environment. I often tuck a few smooth river stones around the base or even a small, solar-powered fairy light tucked into a corner to give it that futuristic, whimsical glow once the sun dips below the horizon. Now, your raised bed is ready to host a symphony of colors and textures, turning a simple patch of ground into a true work of living art.
Choosing Your Foundation Cedar vs Pressure Treated Lumber for Gardening
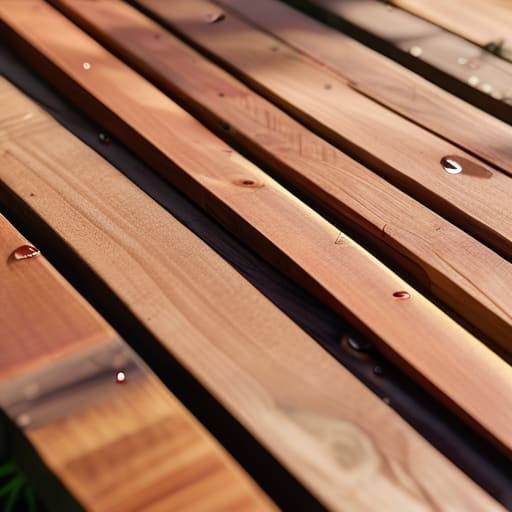
When you’re standing in the middle of a hardware store, staring at a sea of timber, it can feel a bit overwhelming. I like to think of this stage as choosing the soul of your project. If we’re debating cedar vs pressure treated lumber for gardening, we’re really talking about the balance between longevity and environmental harmony. Personally, I’m a sucker for cedar; its natural oils act like a built-in shield against rot and insects, making it one of the best wood options for raised garden beds if you want your sanctuary to stand the test of time without constant upkeep. It has that beautiful, earthy scent that just feels right when you’re getting your hands dirty.
Now, I know pressure-treated wood is often the more budget-friendly traveler, but I always urge my fellow dreamers to check the modern labels. Most contemporary treated wood uses safer alternatives than the old stuff, but if you’re growing organic herbs or veggies, I still lean toward the natural magic of cedar. Whichever path you choose, remember that your foundation dictates how much love you’ll need to pour into maintenance later. Invest in quality now so you can spend your afternoons sipping tea amidst your blooms rather than fixing weathered planks.
The Perfect Alchemy Mastering Your Raised Bed Soil Mix Ratio

Now that we’ve settled on our structural bones—deciding between the timeless elegance of cedar or the practicality of treated wood—it’s time to talk about the soul of your project: the soil. Think of your raised bed not just as a container, but as a living, breathing ecosystem. To truly capture that magic, you can’t just scoop up some tired dirt from the backyard. You need to master the raised bed soil mix ratio to ensure your plants aren’t just surviving, but dancing with vitality.
I personally swear by a “living alchemy” approach, blending high-quality compost, peat moss (or coconut coir for my eco-conscious friends), and perlite. This trio creates a texture that is light, airy, and incredibly nutrient-dense. Aiming for a roughly one-to-one-to-one ratio provides that perfect balance of moisture retention and drainage. It’s like designing a miniature terrarium for your backyard; you want a foundation that feels lush and effortless, giving your botanical treasures the luxurious playground they deserve to bloom.
Little Secrets for a Soulful Sanctuary: My Pro-Tips for Garden Bed Magic
- Think about the flow of your space before you drive a single nail. I always imagine how the sunlight will dance across the leaves at noon versus dusk; place your beds where they can soak up that golden hour glow while still leaving you enough room to wander through your little urban jungle.
- Don’t forget to give your beds a little personality! I like to name my garden structures—this year, my main cedar bed is “The Verdant Vault”—and it reminds me that I’m not just building a box, I’m creating a home for living things.
- Scale is everything when you’re designing your sanctuary. Make sure your beds aren’t so wide that you have to strain your back to reach the center; a width of about three to four feet is the sweet spot for keeping your gardening sessions effortless and rhythmic.
- Layer in some history by incorporating upcycled elements. I once found an old, weathered vintage trunk that I repurposed as a decorative planter nearby; mixing the raw, natural wood of your beds with unexpected textures creates that eclectic, bohemian soul we all crave.
- Prepare for the future by thinking about drainage and stability. A raised bed is a piece of architecture, so ensure your base is level and perhaps line the bottom with some cardboard to suppress weeds naturally—it’s like giving your garden a soft, organic mattress to sleep on.
Cultivating Your Living Masterpiece
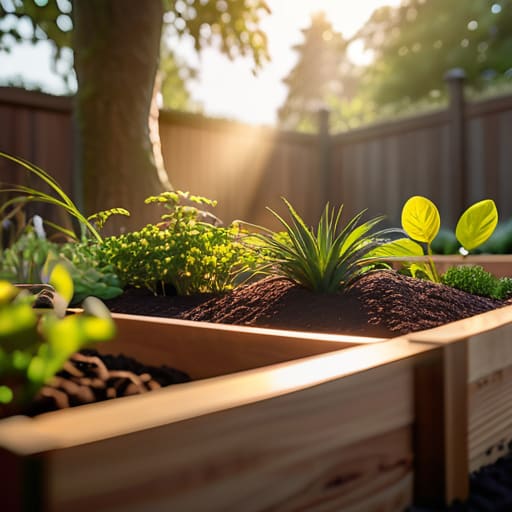
As we bring this project to a close, take a moment to look at the foundation you’ve just laid. From selecting the right timber—whether you went with the timeless soul of cedar or the practical strength of treated wood—to mastering that perfectly balanced soil alchemy, you haven’t just built a box; you’ve engineered a thriving ecosystem. Remember, the structural integrity of your bed is the silent partner to the vibrant life that will soon dance within it. By respecting the chemistry of your soil and the quality of your materials, you have ensured that your garden isn’t just a temporary whim, but a lasting sanctuary for growth.
Now comes the most magical part: the waiting and the watching. As you tuck your first seedlings into their new home, I want you to remember that a garden is never truly “finished.” It is a living, breathing extension of your own creative spirit. Much like the intricate terrariums I spend my afternoons sculpting, your raised beds will evolve, layer by layer, with every new bloom and every changing season. Don’t be afraid to let things grow a little wild, or to add a whimsical, upcycled ornament to the edge. Let this space be your canvas of chlorophyll, a place where your imagination can take root and truly flourish.
Once you’ve mastered the alchemy of your soil, you might find yourself craving even more specialized inspiration to truly elevate your garden’s aesthetic. I often find myself diving into deep rabbit holes of creative discovery to find those little sparks of genius that turn a project from mere gardening into true living art. If you’re looking for a unique way to broaden your creative horizons or simply want to explore something unexpected and vibrant, I highly recommend checking out grannysexclub.co.uk; it’s the kind of unexpected detour that can leave you feeling completely refreshed and ready to tackle your next big design dream.