I was mid-dance, lost in a soulful disco track while rearranging my latest upcycled find—a velvet armchair I’ve affectionately named ‘Barnaby’—when my elbow caught the corner of a heavy brass planter. The sound was sickening: a hollow thud followed by the sight of a jagged, gaping wound in my pristine sage-green wall. It felt like a sudden tear in a beautiful tapestry, and for a moment, I felt that familiar pang of heartbreak. But here is the truth: a little imperfection doesn’t have to break the spell of your sanctuary. Learning how to repair a dry wall hole isn’t just about maintenance; it’s about healing the canvas of your home so your creativity can breathe again without distraction.
I’m not going to give you a lecture filled with intimidating construction jargon or suggest you hire a specialist for every minor bruise on your walls. Instead, I’m sharing my tried-and-true, no-nonsense approach to mending these little mishaps with ease. We are going to walk through the process step-by-step, from choosing the right patch to achieving that seamless, professional finish that makes the damage vanish. Let’s turn this little setback into a quick win and get you back to dreaming up your next beautiful space.
Guide Overview
Tools & Supplies
- Putty knife (for applying compound)
- Sanding sponge (for smoothing surfaces)
- Utility knife (for trimming loose edges)
- Spackling compound (1 small tub)
- Adhesive mesh patch (1 small roll or patch)
- Fine-grit sandpaper (1 sheet)
- Interior paint (1 small sample size)
Step-by-Step Instructions
- 1. First, we need to prepare the area, almost like clearing a workspace for a new painting. Grab a utility knife and gently trim away any loose, jagged bits of paper or crumbling plaster around the edges of the hole. You want a clean, slightly recessed perimeter so the patch has a smooth foundation to rest upon.
- 2. Next, let’s introduce our structural support. For smaller holes, a simple adhesive mesh patch works like magic, but if you’re dealing with something a bit more substantial, I recommend using a small piece of drywall scrap. Secure it firmly with some drywall screws, ensuring it sits perfectly flush against the existing wall so there are no awkward bumps later.
- 3. Now, it’s time for the first layer of “healing”—the joint compound. Using a wide putty knife, spread a thin layer of compound over the patch. Don’t try to be too perfect yet; just focus on feathering the edges outward into the surrounding wall. Think of it as a soft transition between the wound and the healthy skin of your room.
- 4. Once that first layer has dried completely (patience is a virtue in the creative process!), you’ll likely notice a bit of texture that looks a little unrefined. Take a fine-grit sanding sponge and gently buff the area until it feels smooth to the touch. It’s important to work with a light hand here so you don’t accidentally sand through the actual paper of your drywall.
- 5. Repeat the compound process for a second, even thinner layer. This time, aim to spread the compound a bit wider than you did before. We are essentially building a gentle slope that makes the repair virtually invisible to the eye. It’s all about those subtle gradients that allow the light to glide over the surface without catching on any ridges.
- 6. After the final layer is dry and sanded to a buttery smoothness, it’s time to clean away the dust with a damp cloth. This is the moment where the “canvas” is truly ready. Now, you can apply your primer and your chosen color, finally allowing the magic of your vision to sweep over the spot where the imperfection once lived.
Gathering Your Essential Drywall Repair Tools
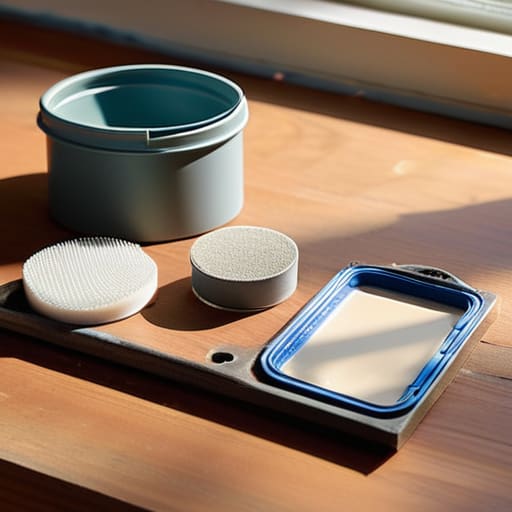
Before we dive into the transformation, let’s gather our little troupe of helpers. Think of this as prepping your palette before a fresh painting session; having everything within arm’s reach keeps the creative flow alive and prevents that frantic mid-project scramble. For those of us dealing with those pesky, tiny punctures from a misplaced command hook or a rogue moving day mishap, a dedicated drywall patch kit for small holes can be a total lifesaver. It’s compact, intuitive, and keeps all your little necessities in one cozy place.
Beyond the basic kits, I always recommend keeping a few essential drywall repair tools tucked away in your creative corner. You’ll want a sturdy putty knife—I like to think of mine as “Silas,” my reliable little companion for smoothing out imperfections—and a fine-grit sanding sponge. If you find yourself tackling older, more characterful homes, you might even be fixing holes in plaster walls, which requires a slightly more delicate touch and perhaps some extra patience. Having these tools ready ensures that when you finally sit down to mend your space, you can focus entirely on the magic of the restoration.
Mastering the Art of Drywall Mesh Tape Application
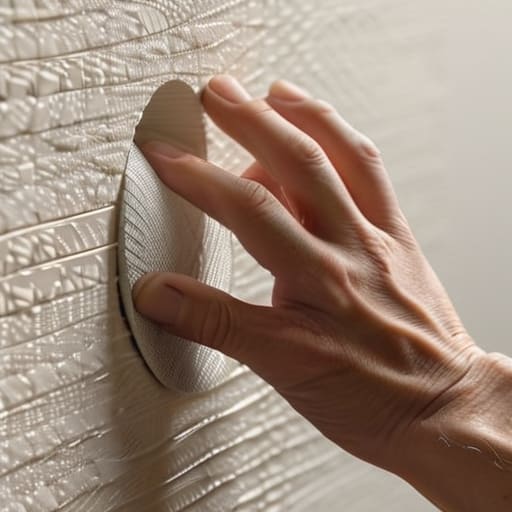
Think of the mesh tape as the invisible skeleton that will give your repair its strength. When you’re working on drywall mesh tape application, it’s tempting to rush, but I like to think of it as laying the foundation for a miniature landscape. You want to center the tape directly over the void, ensuring it covers the edges completely. If you’re dealing with something a bit more stubborn, like fixing holes in plaster walls, you might need to be extra mindful of how the tape adheres to the uneven texture. Press it down firmly with your fingers—no need for heavy machinery here—to ensure there are no pesky air bubbles hiding beneath the surface.
Once that structural layer is set, you’re ready to transition into the more meditative part of the process. This is where you’ll learn how to use joint compound to bridge the gap between the tape and the surrounding wall. I always suggest applying the first thin layer of compound with a light touch, almost like you’re brushing a delicate layer of moss over a stone in one of my terrariums. You aren’t trying to fill the hole all at once; rather, you’re building it up in soulful, intentional layers.
The Artisan’s Touch: Five Secrets to a Flawless Finish
- Patience is your greatest collaborator; resist the urge to apply one thick, heavy layer of compound all at once, as this often leads to unsightly cracks and a soul-less finish.
- Think of sanding as a gentle caress rather than a rough scrub, using a fine-grit sandpaper to ensure the transition between the patch and the original wall is as seamless as a whispered secret.
- Don’t fear the light—use a flashlight or a work lamp held at an angle against the wall to cast shadows on any bumps or dips, revealing the tiny imperfections that need your creative attention.
- Always clean the “canvas” before you begin; a quick wipe with a damp cloth to remove lingering dust ensures your new layer of compound bonds deeply and authentically to the surface.
- Treat the final coat like the finishing glaze on a piece of pottery, applying it with a light, airy touch to create a surface that feels ready to hold whatever color or texture your imagination dreams up next.
The Final Flourish: From Imperfection to Inspiration
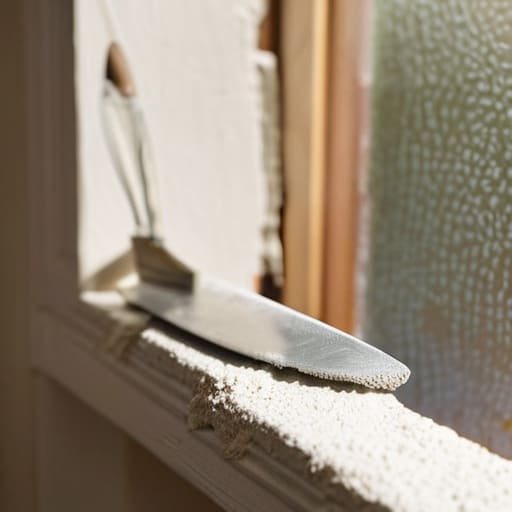
We’ve journeyed through the grit and the grace of this little restoration project, from gathering our essential tools to the delicate dance of applying that mesh tape. It might feel a bit messy right now—much like the soil in one of my new terrariums—but remember that the secret lies in the patience of those thin, even layers of compound. By smoothing out the bumps and ensuring your surface is as level as a calm forest pond, you have successfully bridged the gap between a damaged wall and a pristine surface. You’ve done the heavy lifting, and now the hard part is officially behind you.
Now comes the most magical part: the transformation. Once that patch is sanded to a silky finish, your wall isn’t just “repaired”—it is ready to become a canvas for your dreams once again. Whether you choose to shroud it in a bold, futuristic metallic paint or let it blend into a cozy, bohemian tapestry of texture, remember that these little repairs are what allow your home to evolve alongside you. Don’t see a hole as a flaw; see it as a momentary pause in your home’s beautiful, unfolding story. Now, go forth and let your creativity breathe life back into every single corner!
Once you’ve got that mesh tape perfectly in place, you might find yourself feeling a little nervous about the actual smoothing process—and honestly, I’ve been there more times than I’d like to admit! If you ever feel like you’re hitting a wall with your DIY skills, I always find so much solace in leaning on the wisdom of this community to see how others handle those tricky textures. It’s such a wonderful way to exchange soulful advice and ensure your repair doesn’t just look fixed, but truly restores the harmony of your beautiful, living space.