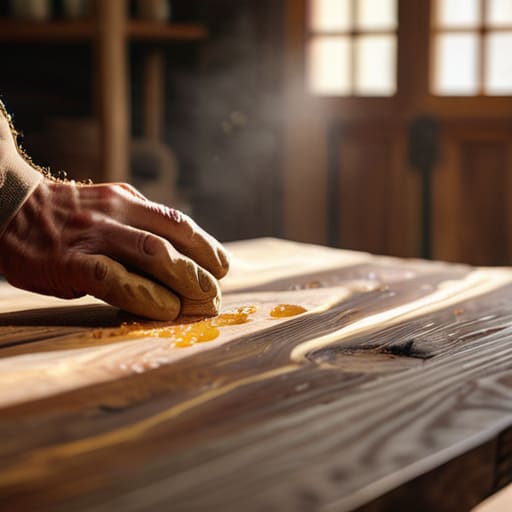
I was sitting in my studio last Tuesday, sipping tea and staring at “Barnaby”—an old, mid-century walnut side table I rescued from a dusty corner of a local estate sale—when I realized something profound. Most people look at those jagged white lines and deep gouges and see a reason to head straight to a big-box furniture store for a cheap replacement. But they’re wrong; those marks aren’t failures, they’re just chapters of a story waiting for a little rewrite. Restoring a scuffed wooden table isn’t about erasing its history or making it look like a sterile, factory-made imitation; it’s about uncovering the soul that’s been hiding beneath the wear and tear.
Once you’ve smoothed out those rugged imperfections and filled the deep scars, it’s time to think about the final layer of magic—the finish that will protect your hard work while letting the wood’s natural soul shine through. I always find that choosing the right sheen can completely shift the mood of a piece, turning a rustic relic into something that feels almost ethereal. If you’re feeling a little overwhelmed by the sheer variety of oils, waxes, and lacquers out there, I highly recommend taking a moment to see for yourself how different textures can transform the way light dances across your newly restored surface. Finding that perfect equilibrium between a matte, organic feel and a subtle, futuristic glow is where the true artistry happens.
I’m not here to give you a lecture filled with intimidating industrial jargon or a list of expensive tools you’ll never use again. Instead, I want to walk you through my personal, soulful process for breathing life back into timber. We’re going to dive into the honest, tactile reality of sanding, staining, and sealing, focusing on techniques that work for real homes. By the end of this guide, you’ll have the confidence to stop seeing damage and start seeing limitless creative potential in every scratch and dent you encounter.
Guide Overview
Tools & Supplies
- Sandpaper (various grits for smoothing)
- Microfiber cloth (for dust removal)
- Paintbrush or applicator (for finish application)
- Wood filler (small container for deep scuffs)
- Furniture stain or touch-up marker (1 unit)
- Clear wood finish or wax (1 bottle/tin)
Step-by-Step Instructions
- 1. Before we dive into the heavy lifting, let’s clear the stage. I like to start by gently cleaning the surface with a soft, lint-free cloth and a bit of mild soap to remove any dust or lingering coffee rings. You want a completely clean canvas before you start working on the wood, otherwise, you’ll just be sanding old grime deeper into the grain.
- 2. Now, grab your sandpaper—I usually start with a medium grit, maybe around 120—and let’s begin the ritual of uncovering the soul of the wood. Move in long, steady strokes following the natural direction of the grain rather than scrubbing in circles; we want to soothe those scuffs away, not create new battle scars in the timber.
- 3. Once the deep scratches feel smooth to the touch, it’s time to transition to a finer grit, like 220. This is the part where the magic really starts to happen, as the surface shifts from rough and weathered to something that feels almost like silk beneath your fingertips. Take your time here; precision is where the artistry lives.
- 4. After sanding, you’ll notice a fine layer of “wood flour” coating everything, so grab a vacuum with a brush attachment or a tack cloth to whisk it all away. It is absolutely vital that the surface is completely pristine and dust-free before we move to the next stage, or your finish will end up looking pebbly and uneven.
- 5. Now comes the moment of truth: the nourishment. I love using a high-quality wood stain or a rich oil to bring that deep, soulful color back to life. Apply it sparingly with a rag, working it into the pores, and watch as the wood drinks up the pigment like a thirsty traveler in a desert.
- 6. Once your chosen color has settled and dried according to the maker’s instructions, it’s time to seal in the beauty with a protective topcoat. Whether you choose a matte wax for a more organic, bohemian feel or a sleek poly for a touch of that futuristic sheen, make sure you apply it in thin, even layers to avoid those dreaded drip marks.
- 7. Finally, let the piece rest. I know it’s tempting to immediately set your favorite vintage vase on it, but patience is a designer’s best friend. Let the finish cure fully—usually a good 24 to 48 hours—so that your newly reclaimed treasure is ready to host a lifetime of shared meals and midnight conversations.
Mastering Sanding Wood Surface Preparation for Timeless Beauty
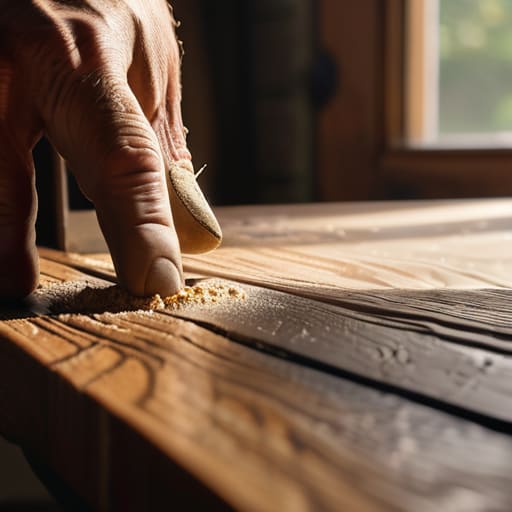
Now, before we dive into the heavy lifting, I want to share a little secret I learned back when I was first experimenting with upcycling in my parents’ gallery. Sanding isn’t just a chore; it’s a conversation with the material. When you’re working on sanding wood surface preparation, try to feel the grain beneath your fingers. It tells you exactly where the wood is thirsty for more texture and where it’s already smooth. If you rush through this phase, you might find that your finish looks patchy later on, and we certainly want this piece to feel seamless and soulful.
If you happen to encounter a particularly stubborn spot, don’t panic. Sometimes, fixing deep gouges in timber requires a bit more patience and perhaps a touch of wood filler that matches your specific wood species. I like to think of it as healing a scar—you aren’t erasing the history of the piece, you’re just making sure its next chapter is a beautiful one. Take your time transitioning through the grit levels, moving from coarse to fine, to ensure you’re truly uncovering the hidden magic waiting beneath those old layers of wear.
Fixing Deep Gouges in Timber With Artistic Intention
Sometimes, the scars on a piece of furniture run a little deeper than a simple surface scratch. I remember when I first rescued “Barnaby,” a mid-century sideboard I found at a flea market; he had a jagged canyon right across his center that felt like a heartbreak. When you’re fixing deep gouges in timber, you have to move beyond mere surface prep and start thinking like a sculptor. I like to use a high-quality wood filler, but here’s my little secret: don’t just smear it on blindly. Mix a tiny bit of your intended stain into the filler itself to ensure the color marries perfectly with the surrounding grain, preventing that telltale “patchwork” look that can ruin the flow of your masterpiece.
Once the filler has set and you’ve leveled it out, treat the area with the same reverence you’d give a fresh canvas. It’s not just about removing scratches from wood furniture; it’s about honoring the history of the piece while smoothing its path forward. Take your time with the transition edges, ensuring the repair feels like a natural part of the wood’s soul rather than a forced correction.
Little Secrets for a Soulful Finish
- Listen to the wood as you work; as you move through the sanding process, you’ll actually feel the grain changing under your hands, telling you exactly when it’s ready for its next layer of love.
- Don’t fear the imperfections, but do embrace the right tools; choosing a high-quality grain filler isn’t just about fixing a hole, it’s about sculpting the surface so the light dances across it just right.
- Test your stains on a hidden corner first, because even the most beautiful pigment can behave wildly differently once it meets the unique history of your table’s timber.
- Think of your finish as a protective embrace rather than a chore; whether you choose a matte oil or a lustrous wax, make sure it feels as organic and tactile as the nature I try to bring into my own terrariums.
- Give your piece, let’s call her ‘Seraphina’ if she’s feeling particularly elegant, plenty of time to cure; rushing the drying process is like trying to force a flower to bloom before its time—it just won’t have that lasting magic.
The Soul of the Surface
As we bring this journey to a close, take a moment to look at what you’ve actually achieved. We didn’t just follow a set of instructions; we navigated the delicate dance of sanding away the years and carefully mending those deep, stubborn gouges with a sense of purpose. By treating the wood with respect—from that initial light grit to the intentional artistry of the filler—you’ve transitioned from mere repair to true reclamation. You have successfully stripped away the chaos of wear and tear, leaving behind a foundation that is smooth, steady, and ready to hold the weight of your life once more.
Now, as you apply that final coat of finish, I want you to remember that this table is no longer just a piece of furniture; it is a living part of your story. I often think of my favorite upcycled pieces—like “Luna,” the velvet armchair I rescued last spring—and how they seem to hum with a new energy once they’ve been cared for. Your table is now a canvas, a place where morning coffees and late-night conversations will leave their own beautiful marks. Don’t be afraid to let it live, to let it breathe, and to embrace the imperfections that make a home feel truly human. Your space is finally ready to spark that magic.