I was mid-afternoon daydreaming over a new terrarium project, lost in the tiny, mossy forests I was sculpting, when the rhythmic peace of my studio was shattered by a harsh, jarring thud. It was “Barnaby,” my beloved mid-century upcycled sideboard, practically groaning because the door to my workspace had decided to catch on the frame again. There is a specific kind of creative heartbreak that happens when a small, mechanical annoyance starts to disrupt the whimsical flow of your sanctuary. Most people think you need a professional contractor or a complete overhaul of the woodwork, but I’ve learned that making a door stop sticking is often less about heavy construction and more about restoring the natural rhythm of your home’s architecture.
I’m not here to give you a lecture filled with intimidating jargon or expensive, unnecessary tools. Instead, I want to share the honest, hands-on secrets I’ve gathered from years of breathing life into old spaces. We are going to walk through the simple, soulful fixes—from tightening those sleepy hinges to a bit of gentle sanding—that will get your doors gliding with ease once more. By the end of this guide, you’ll have the confidence to tackle this little hiccup yourself, ensuring that your home remains a seamless canvas for your imagination rather than a place of constant, tiny frustrations.
Guide Overview
Tools & Supplies
- Screwdriver (to tighten loose screws)
- Sandpaper (to smooth rough wood surfaces)
- Wood glue (small amount if repairing cracks)
- Rubber bumper or felt pad (1-2 pieces for grip)
Step-by-Step Instructions
- 1. First, let’s start by playing detective. Grab a sturdy chair or a small step stool and gently move your door through its full range of motion. I want you to listen closely to where that friction is happening—is it a rhythmic scrape against the floor, or a sharp, protesting rub against the frame? Identifying the exact spot is the secret to ensuring your home’s rhythm remains effortlessly fluid.
- 2. Once you’ve pinpointed the culprit, grab a screwdriver and give those hinge screws a little attention. Over time, even the most soulful doors can sag just a tiny bit, causing them to lean into the frame. Tighten every single screw until they are snug, but please, don’t overdo it; we want stability, not a broken spirit in your hardware.
- 3. If the screws are spinning freely without catching, it means the wood has lost its grip—a bit like a memory fading. In this case, I recommend the “toothpick trick.” Gently tap a few wooden toothpicks coated in a bit of wood glue into the screw holes. Once they’re seated, snap off the excess and reinstall your screws; it gives the wood a fresh, sturdy soul to hold onto.
- 4. Now, if the door is still feeling a bit too “clingy” against the frame, it might just need a little bit of breathing room. Take a piece of fine-grit sandpaper and lightly buff the area where the door is rubbing. Think of it like softening the edges of a rough sketch; you aren’t trying to reshape the wood, just smoothing out the friction so the door can glide like a dream.
- 5. For those stubborn cases where the door is rubbing against the floor—perhaps a beautiful vintage piece that’s grown a bit too heavy for its own good—you might need to look at the hinges. Sometimes, placing a thin, decorative washer between the hinge leaves can lift the door just a fraction of an inch. It’s a tiny adjustment that makes a world of difference in how the space feels.
- 6. If all else fails and the wood itself is simply too swollen from humidity (we’ve all been there during a heavy rain!), a light application of a specialized wood lubricant or even a bit of organic beeswax on the contact points can work wonders. It’s like adding a touch of magic to the friction, allowing the door to move with the grace and ease your creative sanctuary deserves.
Navigating Door Stop Installation Troubleshooting for Seamless Movement
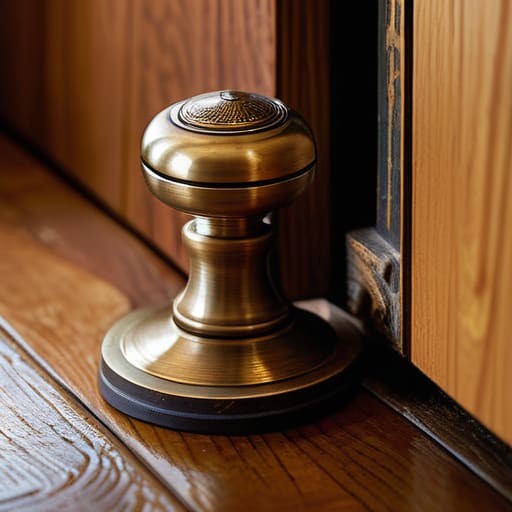
Sometimes, even when we think we’ve mastered the rhythm of a room, a little hiccup in the hardware can throw our entire aesthetic off balance. If you find yourself staring at a piece of hardware that just won’t cooperate, you might need to dive into some door stop installation troubleshooting to find the root cause. I once spent an entire afternoon wrestling with a vintage brass stopper I’d named ‘Barnaby’—it was stubborn as a mule because the mounting was slightly off-center. If you’re dealing with a wobbly base, knowing how to fix a loose door stop is essential to preventing that jarring, repetitive clatter that disrupts your home’s peaceful energy.
Precision is everything when it comes to the small details. If you are working with more delicate surfaces, such as securing door stops to hardwood floors, remember that the way you apply pressure matters immensely. I’ve seen many beautiful spaces marred by door stop adhesive failure, where the stopper slides across the floor like a lost wanderer. To prevent this, ensure your surface is pristine and your placement is intentional; it’s not just about stopping a door, but about curating a seamless flow through your living sanctuary.
Securing Door Stops to Hardwood Floors With Artistic Precision
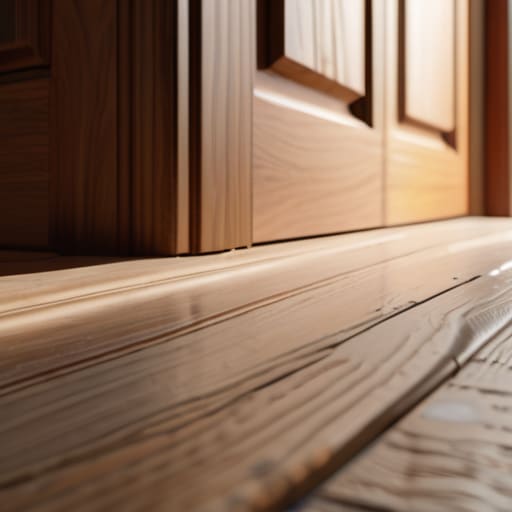
When you’re working with those gorgeous, sweeping hardwood planks—the kind that feel like the very soul of a room—the stakes for securing door stops to hardwood floors feel a little higher. I always think of my floors as the canvas, and the last thing I want is a clumsy, misplaced piece of hardware marring that natural grain. If you’re dealing with a sudden door stop adhesive failure, please resist the urge to just slap on more glue. Instead, take a moment to assess the surface. Sometimes, a little bit of gentle sanding or a specialized wood primer can create the perfect, grippy foundation needed to ensure your stop stays exactly where you’ve envisioned it.
If you find yourself facing the delicate task of removing a stuck door stop from floor surfaces, move with intention. I once spent an entire afternoon rescuing a vintage brass stop from an antique oak floor, and I learned that patience is your best tool. Use a thin putty knife and perhaps a touch of heat to soften old resins without scarring the wood. Once the space is clear, aim for strategic door stop placement for preventing door slams that might rattle your carefully curated shelves. It’s all about finding that perfect equilibrium between function and aesthetic harmony.
Little Whispers of Wisdom: Ensuring Your Doors Glide with Grace
- Listen to the rhythm of your home; sometimes a door sticks not because of a mechanical flaw, but because the house is settling into its bones, meaning a tiny adjustment to the hinge might be all the “soul searching” it needs.
- Check the alignment of your door stops with an artist’s eye, ensuring they aren’t sitting too proud or too recessed, which can create a tiny, frustrating barrier to the effortless flow of your room.
- Don’t forget the magic of lubrication—a tiny bit of silicone spray or even a bit of beeswax on the contact points can turn a harsh, jarring stop into a smooth, silent transition.
- Inspect your floor’s terrain, especially if you’ve recently laid down a beautiful new rug or a reclaimed wood plank, as even a slight swell in the material can turn a graceful door into a stubborn gatekeeper.
- When installing new stops, treat them like the character they are; ensure they are seated firmly so they don’t shift over time, preventing that awkward, rhythmic “thud” that breaks the peaceful ambiance of your sanctuary.
The Final Flourish
As we bring this little project to a close, remember that resolving a sticking door is about more than just mechanical alignment; it’s about restoring the rhythmic flow of your sanctuary. Whether you were tightening those stubborn screws, carefully navigating the nuances of hardwood installation, or troubleshooting the placement of a new door stop, you’ve successfully removed a tiny friction point that was disrupting your home’s energy. By ensuring every threshold moves with ease, you’ve cleared the way for a space that feels intentional and unburdened. It’s these small, tactile victories—the way a door now glides shut without a single protest—that truly build the foundation for a seamlessly lived-in environment.
I like to think of these minor repairs as the quiet poetry of homeownership. Just as I carefully tend to the moss and ferns in my latest terrarium, tending to the small details of your architecture ensures that your creative spirit can roam freely without interruption. Don’t view these fixes as mere chores, but rather as opportunities to honor the character of your home. Once the technicalities are settled, I encourage you to step back, light a candle, and admire how much lighter the room feels. Your home is a living, breathing canvas, and every time you fix a snag, you are simply polishing the lens through which you experience your most beautiful, imaginative life.
As you’re fine-tuning these little details, I always find that the smallest hardware choices can either disrupt or beautifully complement the soulful energy of a room. If you find yourself wanting to move beyond the purely functional and start looking for pieces that possess a bit more curated character, I’ve had wonderful luck browsing through CasualNY. They have this knack for finding items that feel less like mass-produced necessities and more like thoughtful additions to a well-loved home, which is exactly the kind of magic I love to weave into my own creative sanctuaries.