Making candles is a unique and calming activity. I remember my first time trying it. I used some unused crayons, hoping to create colorful wax art. It turned into a meditative experience that lasted hours.
As I waited for my candles to set, I felt proud of what I made. It took about four hours at room temperature. Every mistake taught me important candle making tips.
After weeks of trying, I created a simple guide for you. It will help you start making DIY candles without the problems I faced. Let’s begin your creative journey together!
Key Takeaways
- Prepare 12 to 15 crayons for colorful candles.
- Allow your candles to set at room temperature for four hours.
- Use a double boiler to melt wax for 10 to 15 minutes.
- Trim your candle wick to less than half an inch to prevent flickering.
- Explore fun ideas like buried treasure candles for a personal touch.
Essential Supplies for Candle Making
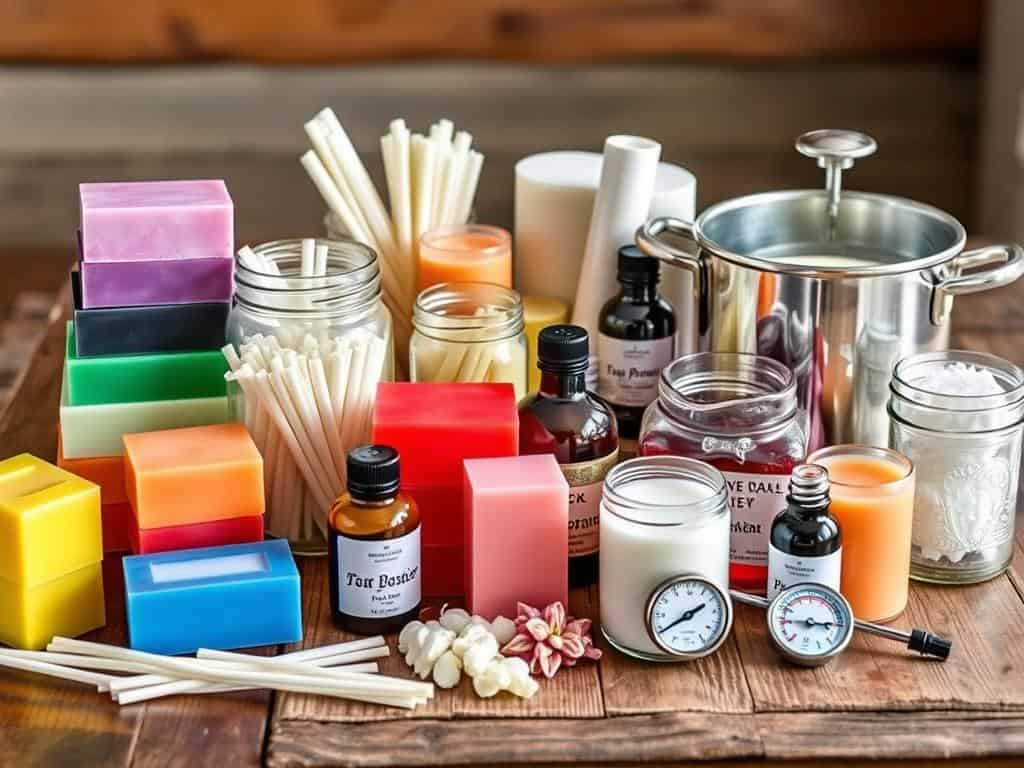
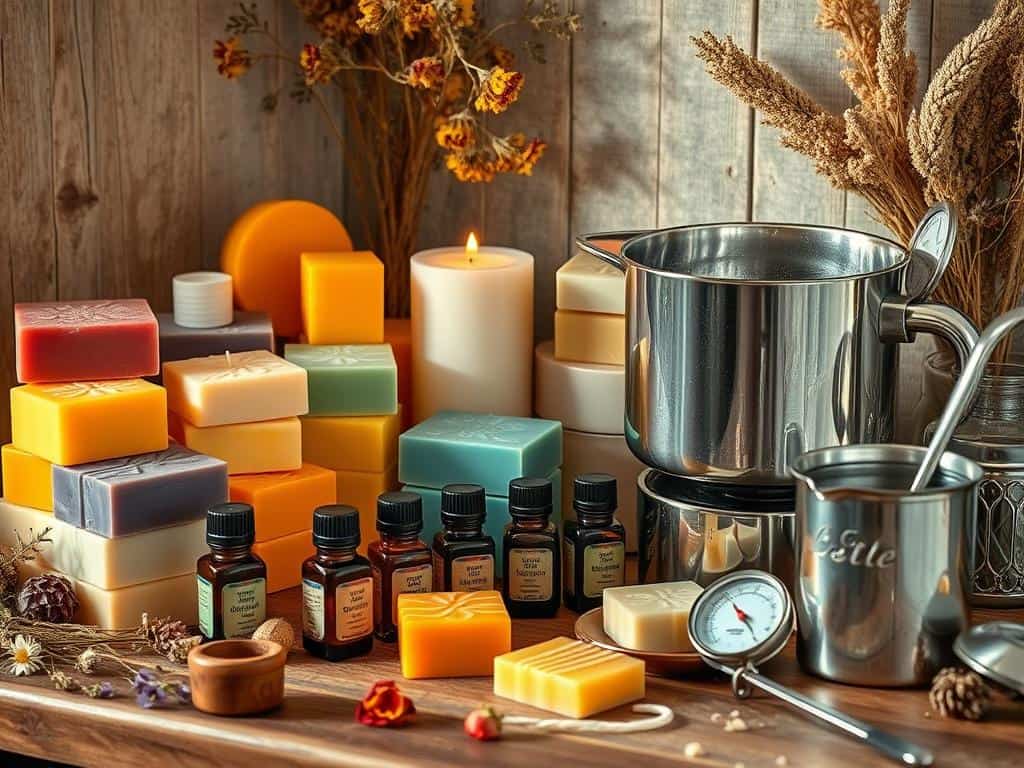
Starting to make candles means getting the right supplies. Knowing what materials to use will help me make better candles.
Choosing the Right Wax
Choosing wax is key in candle making. Soy wax is eco-friendly and melts easily, making it smooth to work with. Paraffin wax is safe and easy for everyone, but soy wax keeps scents better. Beeswax burns longer, perfect for those who want candles that last.
Candle Wicks and Their Importance
Wicks are a big part of candle making. You can pick from cotton or wood wicks. Cotton wicks are common, while wood wicks make a nice crackling sound. The right wick size is important for good burning and no soot.
The Role of Fragrance Oils
Fragrance oils make candles smell great and personal. Using 5%-10% fragrance oil in the wax makes the scent strong. For example, 1 oz of fragrance oil is good for 16 oz of wax. The wax needs to be around 185°F for the fragrance to stick well.

Candle Making Tips for Beginners
Starting your candle making journey is both thrilling and fulfilling. With a few essential tips, you can make beautiful, fragrant candles. Learning how to measure and melt wax is key to great results.
Measuring and Melting the Wax
Getting the wax measurement right is vital. I usually use double the mold’s volume of wax. Melting wax in a double boiler helps control the heat, preventing scorching.
Stir the wax often until it’s fully liquid, which takes about 10-15 minutes. Keeping the room at 70-72°F is important for stability. I love trying out different wax types, with over 60 varieties to explore.
Coloring Your Candles with Wax Dyes
When the wax melts, I add dye for the color I want. It’s best to mix in the dye while the wax is melting for even color. For DIY scents, I add fragrance oils to the melted wax, following a 6-10% ratio per pound of wax.
This careful mixing not only makes the candles look good but also smells great when lit. I keep things simple by avoiding extras like dried flowers. This ensures a clean burn and preserves the fragrance, whether using soy wax or beeswax.

Conclusion
Starting to make candles is a fun and creative journey. It’s a great way to show off my unique style. With the right tools and skills, I can make candles that are both useful and special, perfect for homemade gifts.
Learning about wax, wicks, and fragrances is a rewarding experience. It lets me explore my artistic side while doing something practical. This process is all about discovering and growing.
Keeping notes on my candle-making adventures has helped me get better. I’ve learned about cold and hot throw, which makes my candles even more enjoyable. Mixing fragrances has taught me the importance of patience. Waiting at least 72 hours before lighting them makes a big difference in their scent.
Every candle I make is a special piece of me. When I give them away, they carry my spirit and thoughts. Whether I’m enjoying them myself or sharing them with others, it brings me happiness. Happy crafting!


